
Last updated November 17, 2026
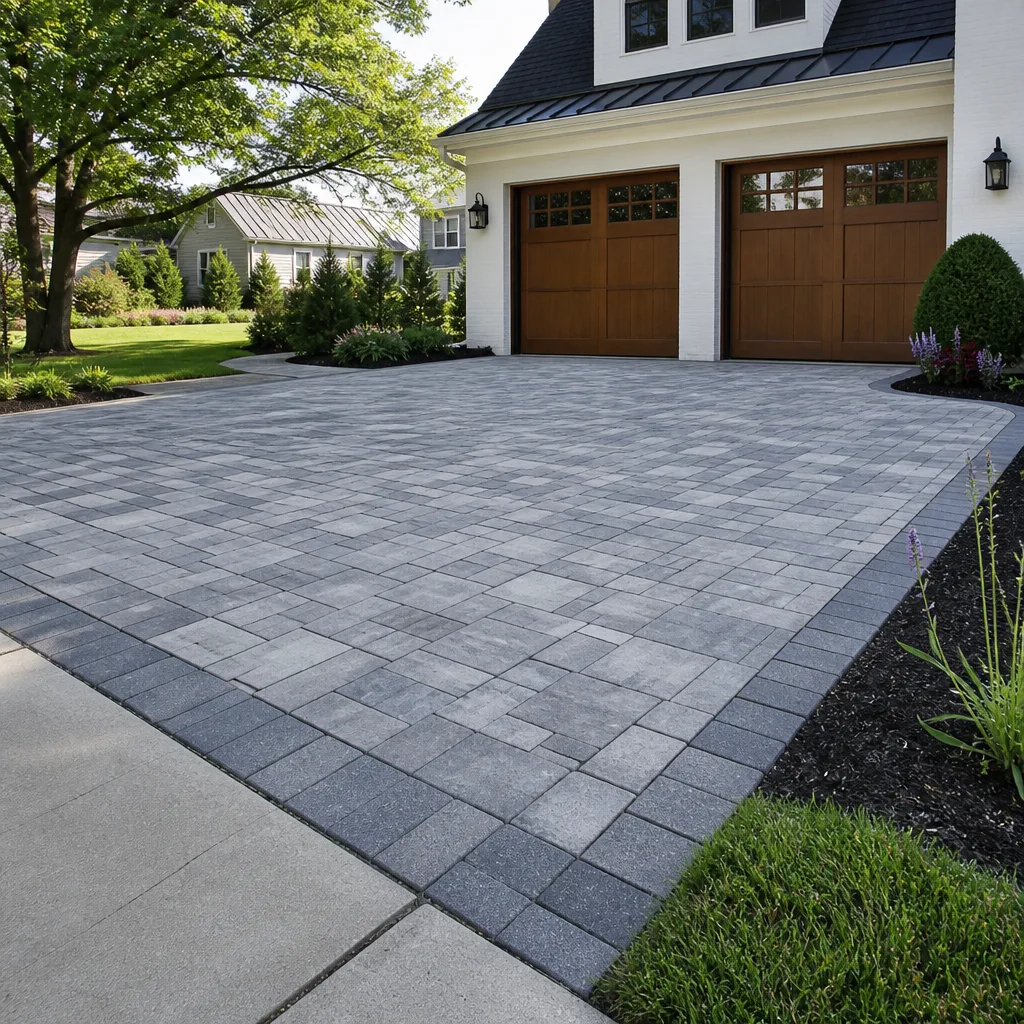 Driveway & pavers
 Kitchen remodeling
 Bathroom remodeling
 Home additions & ADU
 Roofing
 Windows & doors
 Fence
Free written scope consultation - allowances, timeline, and change-order rules on paper before a single trade is scheduled
Driveway & Pavers Troubleshooting in Frisco: Common Problems and How to Fix Them
Most homeowners assume a sinking paver driveway means the whole thing has to come out. It usually doesn’t. In Frisco, the majority of paver problems we’re called about trace back to one of three roots: a base that wasn’t compacted enough, polymeric sand that’s wrong for the heat, or a drainage slope that’s off by a fraction of an inch. Fix the root and the pavers often stay exactly where they are. This guide walks you through diagnosing which problem you actually have, so you know whether you’re looking at an afternoon fix or a full-section reset before anyone quotes you a number. Frisco’s soil and summer heat shape nearly every failure mode on this list.
Quick Answer
Driveway paver problems in Frisco usually come down to base compaction, polymeric sand failure in the heat, or a drainage slope error of around 1%. A whole section that moves together points to the base; individual pavers that rock independently point to washed-out bedding sand. Resetting a small sunken area without disturbing the surrounding field is often a few hours of work, while a failed base section needs the base rebuilt and recompacted. Diagnosing first is what keeps you from paying for a full re-lay when only a small section is the problem.
Styles & brands we work with
- Kitchen remodeling
- Bathroom remodeling
- Home additions & ADU
- Roofing
- Windows & doors
- Driveway & pavers
- Fence
Table of Contents
- Base failure vs. bedding sand washout: telling them apart
- Why polymeric sand fails faster in Frisco
- How to reset sunken pavers without disturbing the field
- Crack vs. chip vs. pop-out: what each one tells you
- Drainage slope troubleshooting
- Repair or replace: reading the field
- Common mistakes to avoid
- When to call a professional
Base failure vs. bedding sand washout: telling them apart
This is the first question to answer, because the two problems look similar from standing height and have almost nothing in common once you start fixing them. A base failure means the compacted aggregate underneath the pavers has settled, shifted, or was never dense enough. A bedding sand washout means the thin layer of sand the pavers sit on has migrated out from under them, usually through a gap at the edge or a joint.
Here’s the test. Stand on the area and shift your weight from foot to foot:
- Whole section dips together. If four or five pavers move as a single unit, the problem is below the bedding layer. That’s a base issue. The pavers are fine; what’s under them isn’t.
- Individual pavers rock on their own. If one paver tips while its neighbors stay put, the sand under that paver has thinned out or washed away. That’s a bedding washout, and it’s a much smaller job.
- Edges move first. Base failures almost always start at the perimeter of a driveway, where water enters and the edge restraint either wasn’t set deep enough or has loosened.
In Frisco, we see base failures most often on driveways installed over soil that was prepped in dry conditions and never re-wetted and recompacted before the base went down. The soil here can be expansive, and it needs moisture conditioning to compact properly. If the base was compacted dry, it will consolidate under the first few heavy rains and the pavers above it follow.
Why polymeric sand fails faster in Frisco
Polymeric sand is the material swept into the joints between pavers. It hardens and holds the field together, keeps weeds out, and blocks water from getting under the pavers. When it works, you barely notice it. When it fails, you get joint erosion, loose pavers, and a haze across the surface that won’t wash off.
Frisco summers test polymeric sand harder than a cooler climate does. The material has a working window after you activate it with water, and in high heat that window shrinks. The surface dries before the sand below it has cured, which produces two predictable problems:
- Efflorescence and haze. A cloudy white film across the pavers is the signature of sand that was activated incorrectly or too late in the day. It’s not dirt, and hosing it off won’t fix it. The residue has bonded to the surface.
- Crumbling joints within a season. Joints that look crisp on install day and then wash out after the first heavy rain usually were over-wetted. Too much water dilutes the polymer before it sets.
Part of the fix is material choice, and part is timing. The right polymeric sand for a hot climate behaves differently from a standard blend, and installation timing matters as much as the product. Material selection is where a contractor’s brand relationships earn their keep. We spec joint sand alongside pavers from driveway & pavers brands like Belgard, Unilock, and Tremron, so the sand and the paver are matched to the same climate demands.
How to reset sunken pavers without disturbing the field
A localized sunken area – say a four-foot stretch near the garage apron or a low spot mid-driveway – often can be reset without pulling up the whole field. The technique is to isolate the affected pavers, lift only those, correct what’s beneath them, and re-set them so the repaired area ties back into the surrounding surface.
Here’s how the process goes:
- Mark the repair zone. Outline the sunken pavers plus one row beyond the visible dip. The extra row is your transition; without it you get a visible step at the repair boundary.
- Lift the pavers and set them aside in order. Keeping them in sequence matters when you set them back, because any pattern or color blend has to line back up.
- Diagnose what’s exposed. Washed-out sand means you’re rebuilding the bedding layer. A loose, uncompacted base means you’re going deeper.
- Correct and compact. For a bedding washout, re-screed the sand to the right depth. For a base issue, add aggregate in lifts and compact each lift before the next.
- Re-set, re-sand, and activate the joints. Relay the pavers, sweep new polymeric sand into the joints, and activate it per the product’s instructions for the day’s temperature.
The compaction step is where DIY jobs most often go wrong. A hand tamper will not achieve the density a plate compactor does, and in Frisco’s soil, under-compacted base is the exact failure you started with. For a bedding-only washout in a small area, a careful homeowner can manage. The moment the base is exposed and needs rebuilding, a plate compactor is non-negotiable.
Crack vs. chip vs. pop-out: what each one tells you
Not every defect on a paver means the same thing. The shape of the damage tells you a lot about where the fault lies.
- A crack through the body of the paver usually points to a base or compaction problem. The paver is being flexed by movement underneath. If you see cracks tracing a line across several pavers, the base beneath that line is suspect.
- A chip at an edge or corner is most often an impact event – a vehicle, a dropped tool, a wheelbarrow. It’s cosmetic unless it’s happening on many pavers at once, which suggests the pavers are rocking and grinding against each other.
- A pop-out, where a paver lifts or dislodges entirely, comes from joint failure. The sand between the pavers has eroded, water gets in, and the paver loses its grip on its neighbors. Pop-outs are the most fixable defect on the list, but they’re also the earliest warning that your joint sand needs attention.
One pattern worth flagging: if you’re seeing chips and pop-outs along the same edge, the edge restraint is likely the culprit. That’s a perimeter fix, not a whole-driveway job. Replacing or resetting the edge restraint and re-sanding the joints solves it. We see this often enough that we check edge restraints first on any repair call.
Drainage slope troubleshooting
Water pooling on a paver driveway is a slope problem, not a paver problem. Pavers are supposed to shed water toward the street, a drain, or a swale, and that depends on the surface being built to a consistent pitch. A driveway with a flat spot or a reverse pitch will hold water, and standing water is what accelerates every other failure on this list.
Here’s how to tell if a slope error is the cause:
- Look for a low spot after rain. If water sits in one location for more than an hour or two after the rain stops, that spot is below the surrounding grade.
- Check the pitch visually. A driveway should visibly fall toward its drainage point. A section that looks dead flat is probably holding water.
- Watch the edges. Water that runs along the edge of the driveway instead of off it is a sign the cross-slope is off or the edge restraint is damming water.
Correcting a slope error without a full tear-out means lifting the affected section, adjusting the bedding depth to establish the correct pitch, and re-setting. The correction is measured in fractions – around a 1% slope adjustment across the affected area is often enough to move water off a low spot, and that’s a section reset, not a new driveway. If the slope error is systemic, though, the surface correction becomes a rebuild.
Repair or replace: reading the field
The question every homeowner asks eventually: do I fix this or start over? The answer depends on how much of the field is affected and how it got that way.
- Repair a section when the problem is isolated to one area and the surrounding pavers are stable, tight, and level. Localized settlement, a bedding washout, edge restraint damage, and joint erosion all fall here.
- Rebuild a section when the base beneath a defined area has failed. The pavers are reusable; the base is not.
- Consider replacement when the failure is field-wide, when many pavers are cracked and rocking, or when the original installation had no proper base preparation to begin with. At that point you’re paying to fix the same problem in five places.
If you’re weighing a full redo, it’s worth having the whole property looked at in one pass. A driveway replacement often overlaps with other exterior work, and a contractor who handles multiple trades under one contract keeps the sequencing clean. That’s the model behind fence installation and driveway work happening in the same project window rather than months apart. On larger properties, the same principle applies to home additions & ADU upgrades, where driveway access and grade matter to the build.
Common Mistakes to Avoid
- Diagnosing from the surface. A dip looks like a paver problem and usually isn’t. Lift a paver and look at what’s underneath before you accept a quote for a full re-lay.
- Re-sanding over bad joints. Sweeping fresh polymeric sand into joint gaps without clearing the old, failed sand just delays the failure. The joint needs to be cleaned to depth first.
- Installing polymeric sand in the heat of the day. Frisco summers shorten the working window. Sand that goes down at peak heat is prone to haze and weak joints.
- Ignoring edge restraint. Many base failures start at the perimeter. If the edge is loose, the whole section is at risk, and fixing the edge first is cheaper than fixing the base later.
- Compacting in dry conditions. Soil and base here need moisture to compact properly. Dry compaction looks fine on day one and consolidates after the first heavy rain.
- Treating a slope error as cosmetic. Standing water is what drives joint erosion, washout, and plant growth. Fix the pitch while the affected section is already open.
When to Call a Professional
Some paver repairs are within reach for a careful homeowner. Others aren’t, and knowing the line matters. Call a professional when:
- The base is exposed and needs rebuilding or recompacting.
- A whole section is moving as a unit rather than individual pavers rocking.
- You’re seeing field-wide cracking, or the same defect recurring after a repair.
- Water pooling is tied to a slope error that needs surface correction.
- The joint sand has failed across the entire surface and needs replacement properly.
Construction Frisco offers free estimates in Frisco. Our technicians have up to 11 years of experience diagnosing exactly these failures, and a written line-item estimate tells you what’s being fixed before anyone touches a paver. Call (833) 620-7367. We answer 24/7. Fast dispatch from 7am to 7pm, Sunday through Friday.
See the difference
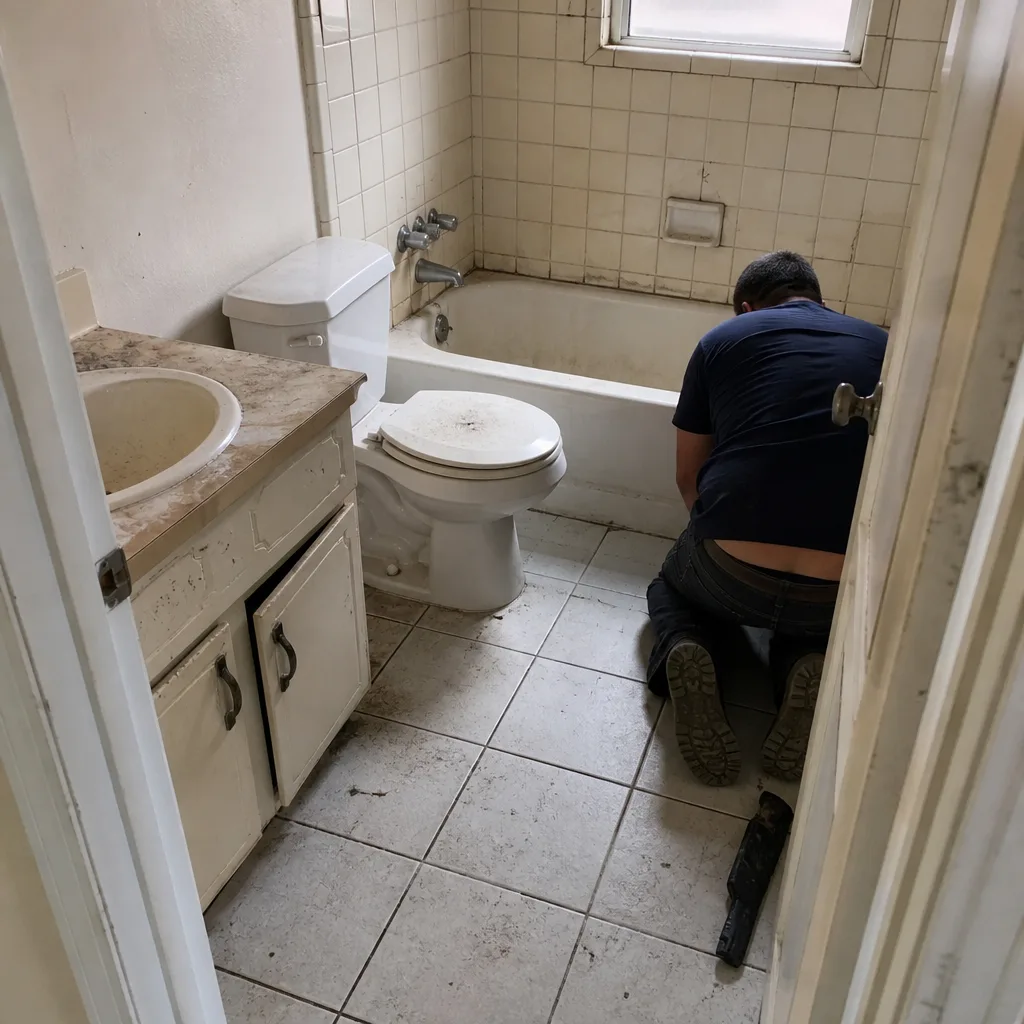 Before
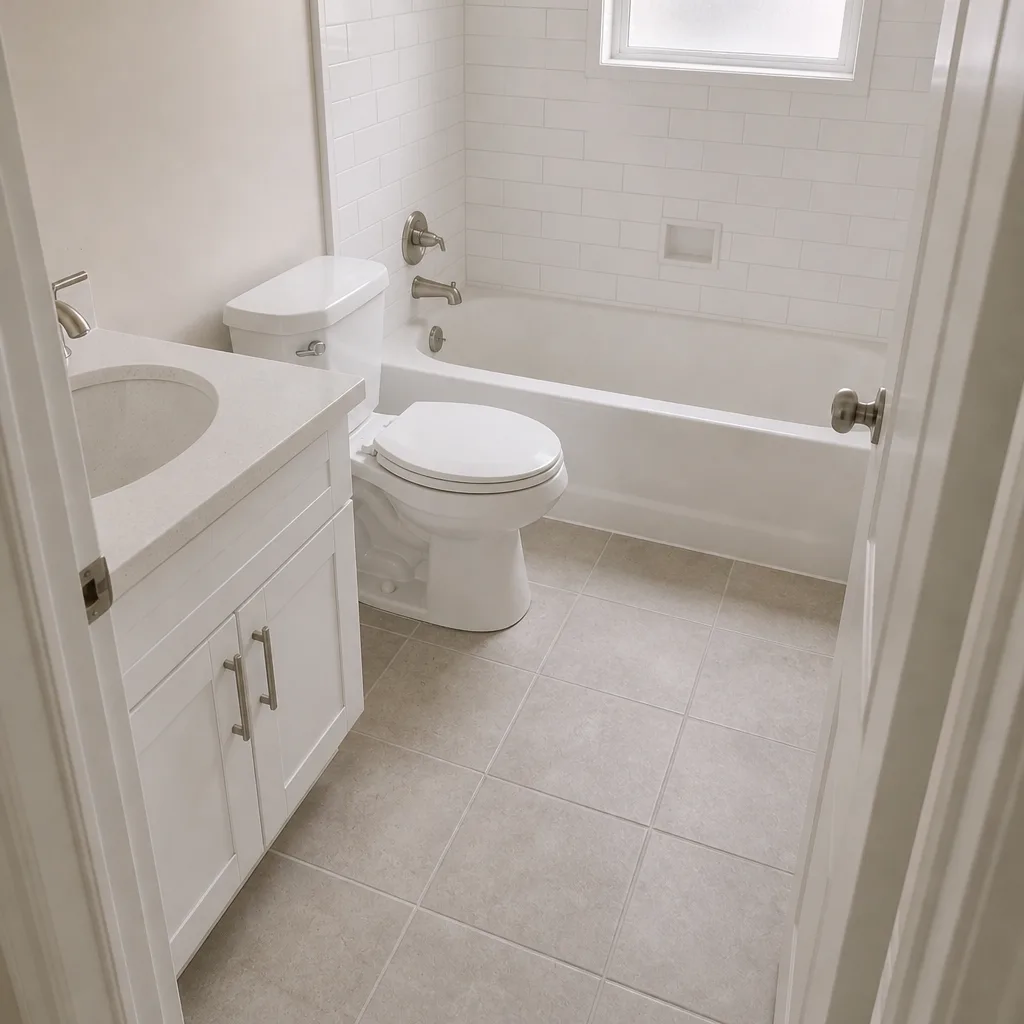 After
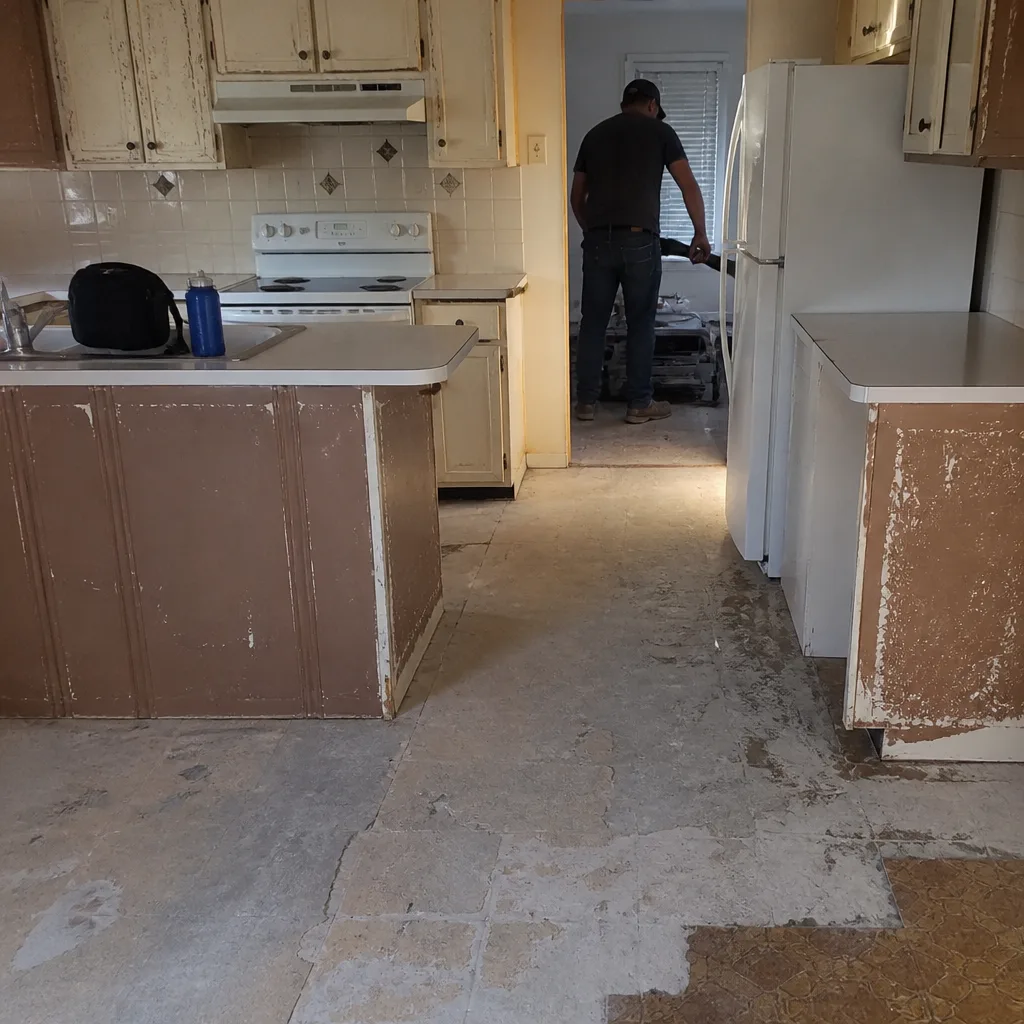 Before
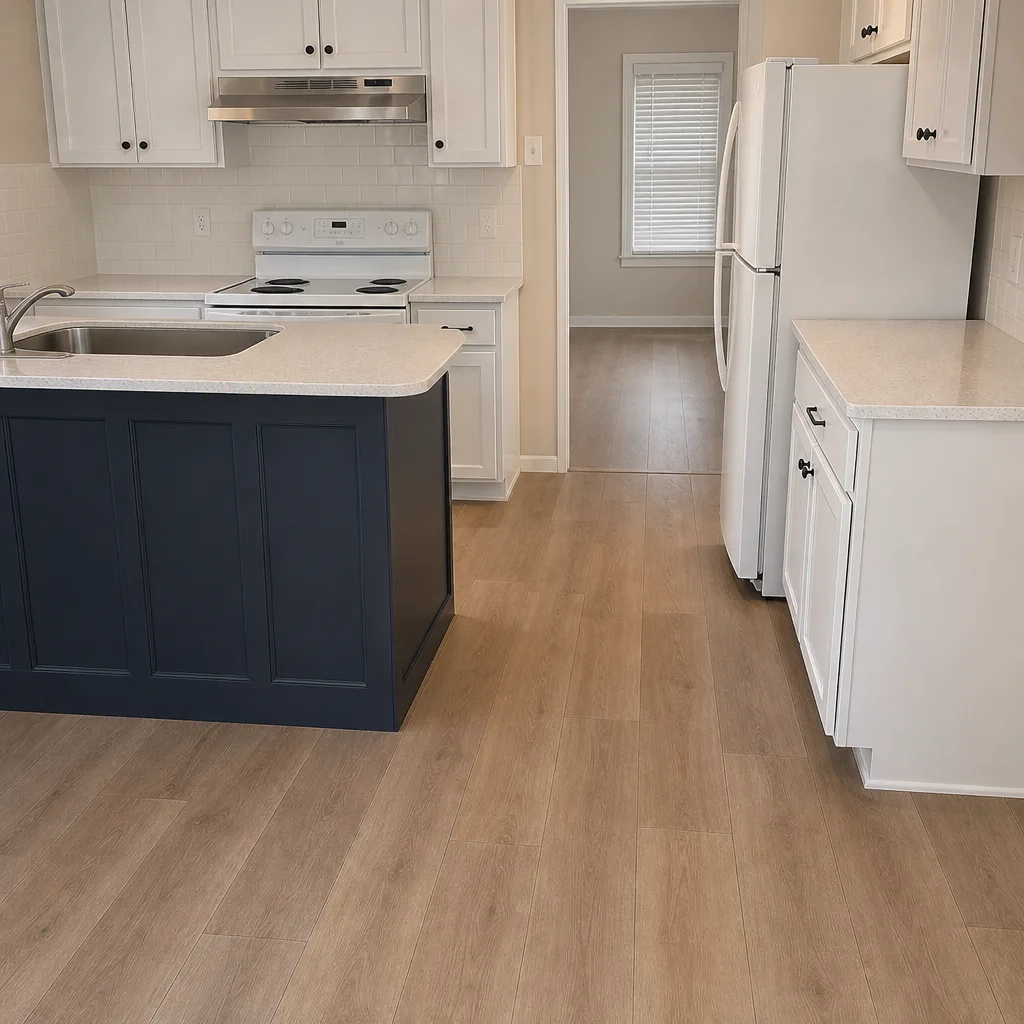 After
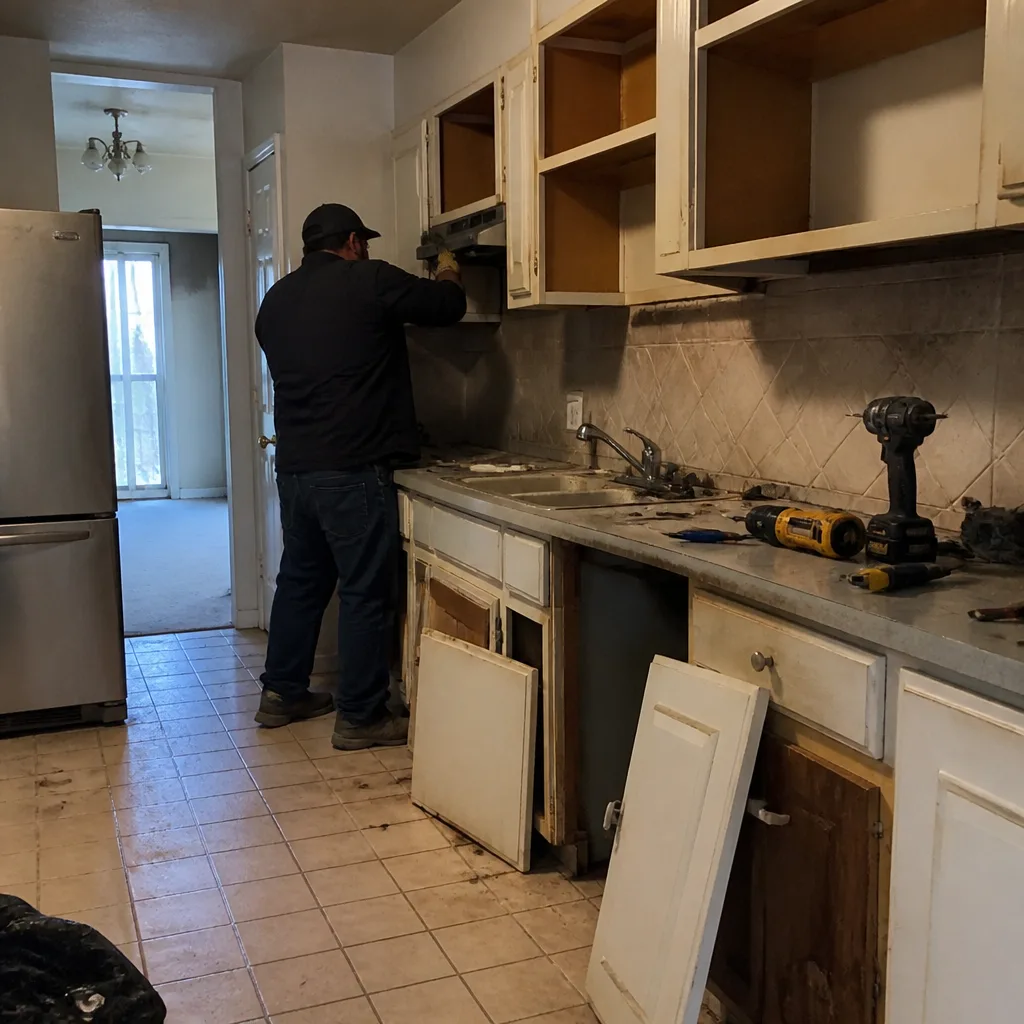 Before
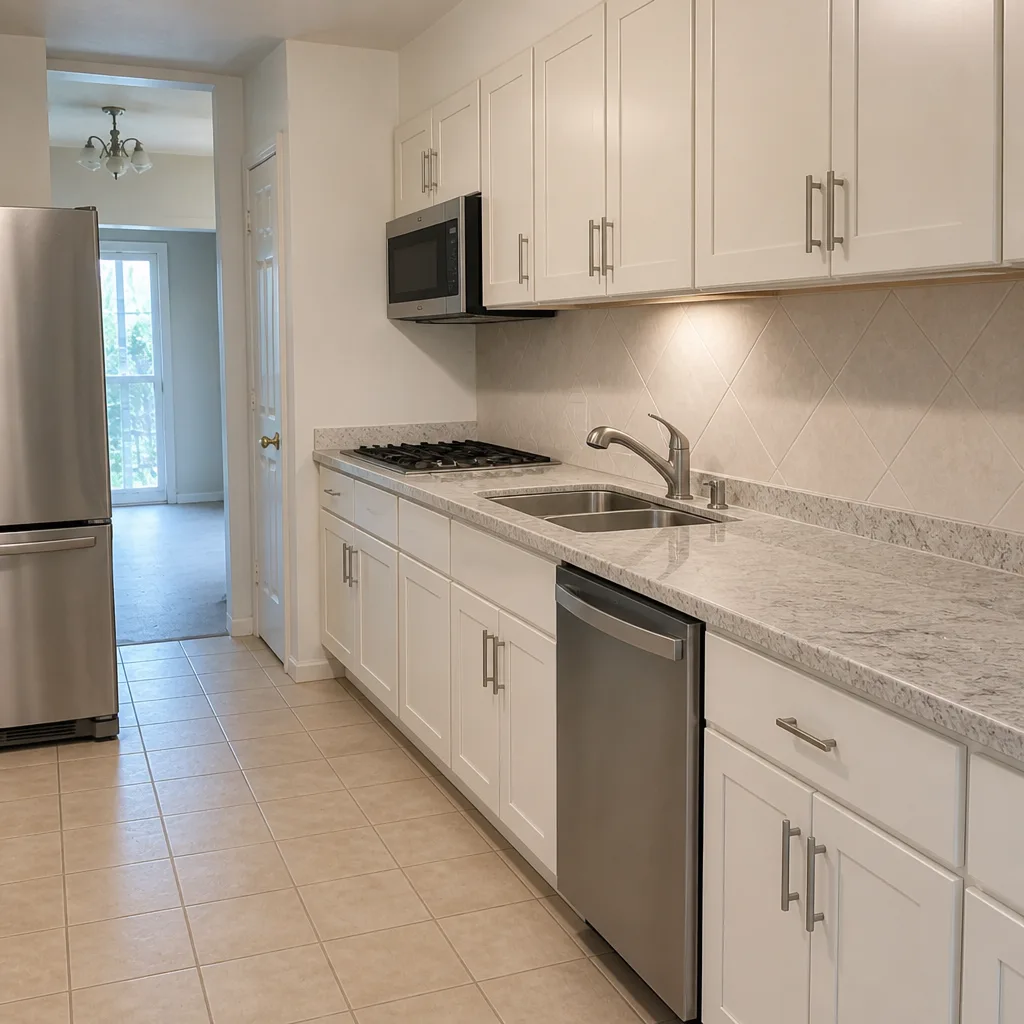 After
Frequently Asked Questions
Localized sinking almost always traces to a base or bedding issue in that section only. The surrounding field is stable because its base compacted properly, while the sunken section either didn’t, or its bedding sand washed out through a gap. A section reset addresses it without disturbing the rest of the driveway. Call (833) 620-7367 for an exact quote. Estimates are free.
Shift your weight on the suspect area. If several pavers dip together as one unit, it’s a base failure. If individual pavers rock independently while their neighbors stay put, the bedding sand has washed out. The fix and the cost are different, so the diagnosis comes first. Call us for a free estimate if you’re not sure which one you have.
Heat shortens the working window for polymeric sand. In Frisco summers, the surface can dry before the sand below has cured, which produces haze and weak joints. Over-wetting is the other common cause. Matching the sand to the climate and installing it at the right time of day avoids both. Call (833) 620-7367 to have your joints assessed.
You can manage a small bedding-sand washout in a defined area with care. You shouldn’t attempt a base rebuild without a plate compactor, because hand tamping won’t reach the density needed and the repair will fail again. If the base is exposed, bring in a professional. Call (833) 620-7367 for a free estimate.
Standing water itself won’t crack a paver, but it drives joint erosion, bedding washout, and base consolidation over time. Pooling points to a slope error of a fraction of an inch that’s correctable with a section reset rather than a full tear-out. Call us to have the pitch checked before the damage spreads.
Not usually. A single cracked paver is often an impact event or a small base issue and can be swapped or reset. A line of cracks tracing across several pavers is a stronger signal that there’s a base problem beneath that line. Call (833) 620-7367 for a free estimate and a straight answer on which it is.
The Bottom Line
Paver failures in Frisco are predictable, and they’re usually fixable without a full re-lay. A whole section that moves together is a base problem. Individual pavers that rock on their own is a bedding washout. Haze and weak joints point to polymeric sand activated incorrectly in the heat. Cracks trace back to base movement; chips are impact; pop-outs are joint failure. Standing water is a slope error worth correcting while the section is open. Diagnose the root first, and you’ll know whether you’re looking at an afternoon repair or a section rebuild before anyone hands you a number.
Written by the team at Construction Frisco.